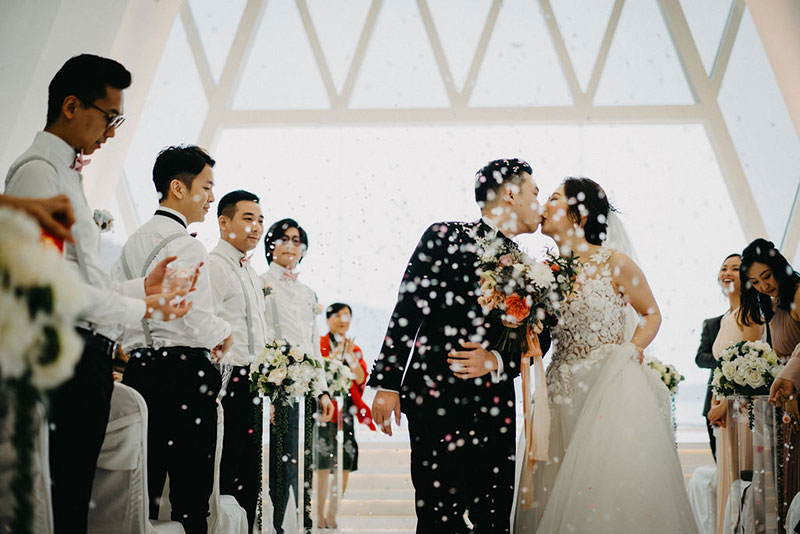
One of the most tedious parts of wedding planning is fixing your guest list and making the seating arrangement. These two constantly go through change, most especially when the wadding day draws closer. We shared some handy tips that can help you manage your guest list, and today, we’re adding to that by talking specifics for your Chinese banquet. Starting from the guest list all the way to the table arrangements, we’ve got your Chinese reception covered. So, no need to worry, just follow these steps and tips to breeze through that Chinese wedding reception. Let’s start now.
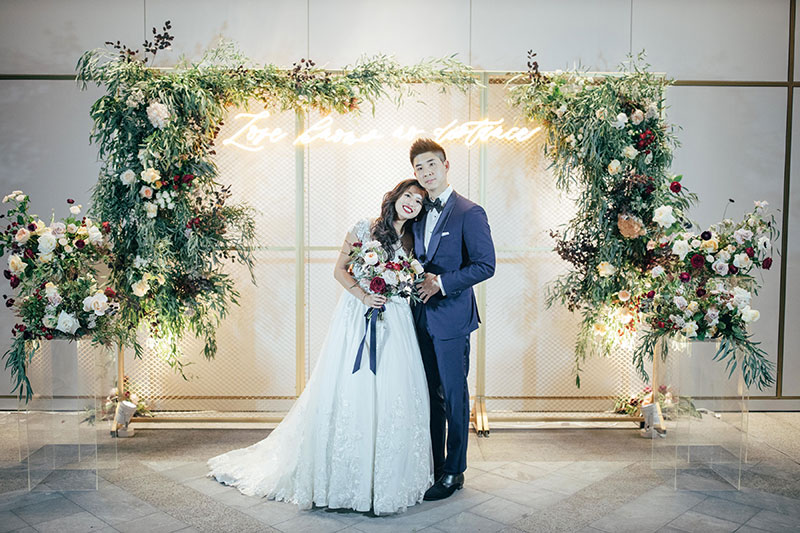
[From: This Couple Kept Their Wedding Classy with Navy and White Details / Photo: Cadenza Studio]
How to Finalize the Guest List
Step 1:List everyone out.
The first thing you should do is list out everyone you want to invite. Include both your guests and your husband-to-be’s guests. Next, categorize your list. For example, separate the list onto family, friends, schoolmates, colleagues, etc. This process helps in checking if you’ve missed out on anyone.
Step 2:Define the number of seats.
Once you have set the venue and budget, you will know the number of guests you can invite. You can compare your total number of seats available with your initial list. You know the number of tables and guests and have a better idea of the final head count.
Step 3:Sit down with your parents to discuss their guests.
Once you have and idea of the number of seats, make sure to meet with the parents from both sides to discuss who they want to invite. This is important so that you can reserve some tables for them right away. If your parents have a lengthy list, you can check with venue and see if it is capable to host more tables. Or, you can adjust the number of friends you plan to invite to accommodate your parents’ friends. We highly recommend giving way to parents, if they really insist on inviting a lot of their friends, because you can always invite your friends at another party.
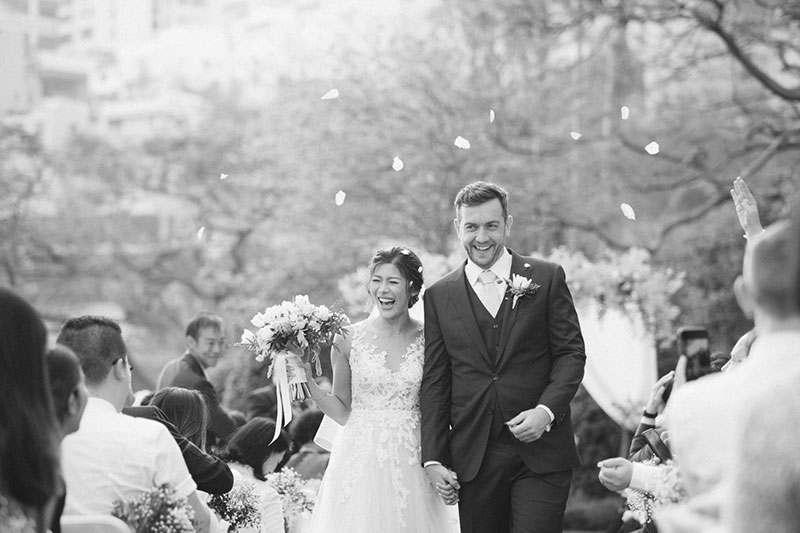
[From: This Traditional Church Wedding is Full of Laughter and Love / Photo: ]
Step 4:Consider your relationship with each guest and cut down if necessary.
You can divide the list into two: list A and list B. List A is for friends you truly want to have at your wedding, while list B is for guests you should invite to maintain a certain relationship. Each list should start from your closest friend to the least closest. This way, you can opt to remove some guests that you are not so close with and keep them in a separate back up list.
Step 5:Compromise and confirm the final list.
After countless discussions with your parents and husband-to-be–going back and forth at step 4–you will arrive at a final guest list. If the list is still too long and you’re well over your budget or venue capacity, then you will have to compromise. You might have to change to a different ballroom or even venue, or give up some guests and invite them for another dinner or party after the wedding. You can start sending Save-the-Date cards to all guests from the final list. Then if some say won’t be able to make it, you can invite guests from your back up list to fill in the seats.
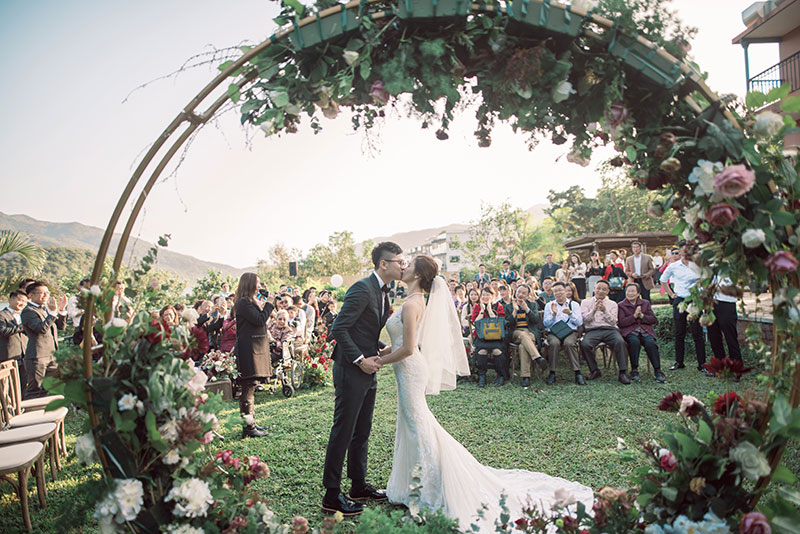
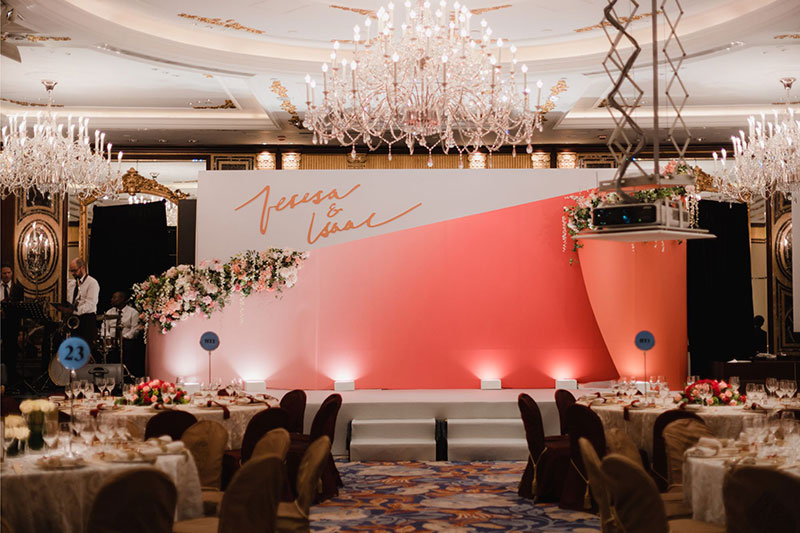
[From: The Afternoon Sun Wrapped This Beautiful Garden Wedding in a Dreamy Glow / Photo: TruEcolor Gallery]
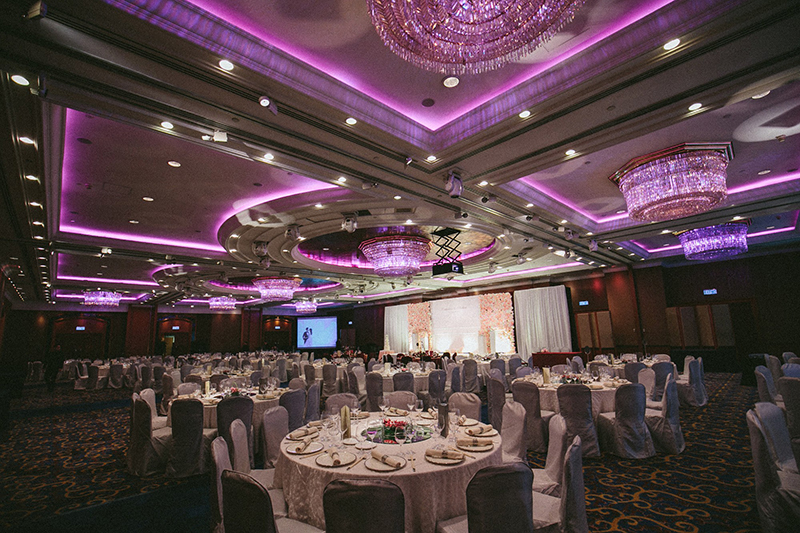
[From: Traditional Wedding at the JW Marriott / Photo: Patrick Photography]
How to Arrange The Banquet Seats
After sending your formal invitations, guests will start confirming. This brings us to the next stage: arranging the seats at your wedding banquet.
Step 1: Separate the guests into groups.
The first thing you should do is to separate all guests into groups. These are the five common groupings used by couples: relatives, parents’ friends, colleagues, schoolmates, friends. After this, divide the groups into tables of 10 to 12 (depending on what will be provided by your venue).
Step 2: Arrange the tables.
When arranging the tables, start from the front, facing main stage. Place the head table nearest to the front. Then, put groom’s guests on the left and bride’s on the right side. The rule of thumb is, the closer to the head table, the closer the relationship to the couple. Relatives are also usually put next to head table, so that the parents are close to them.
Step 3: Assign your guests to tables.
Now that you’ve arranged all the tables, it’s time to assign your confirmed guests to their respective tables.
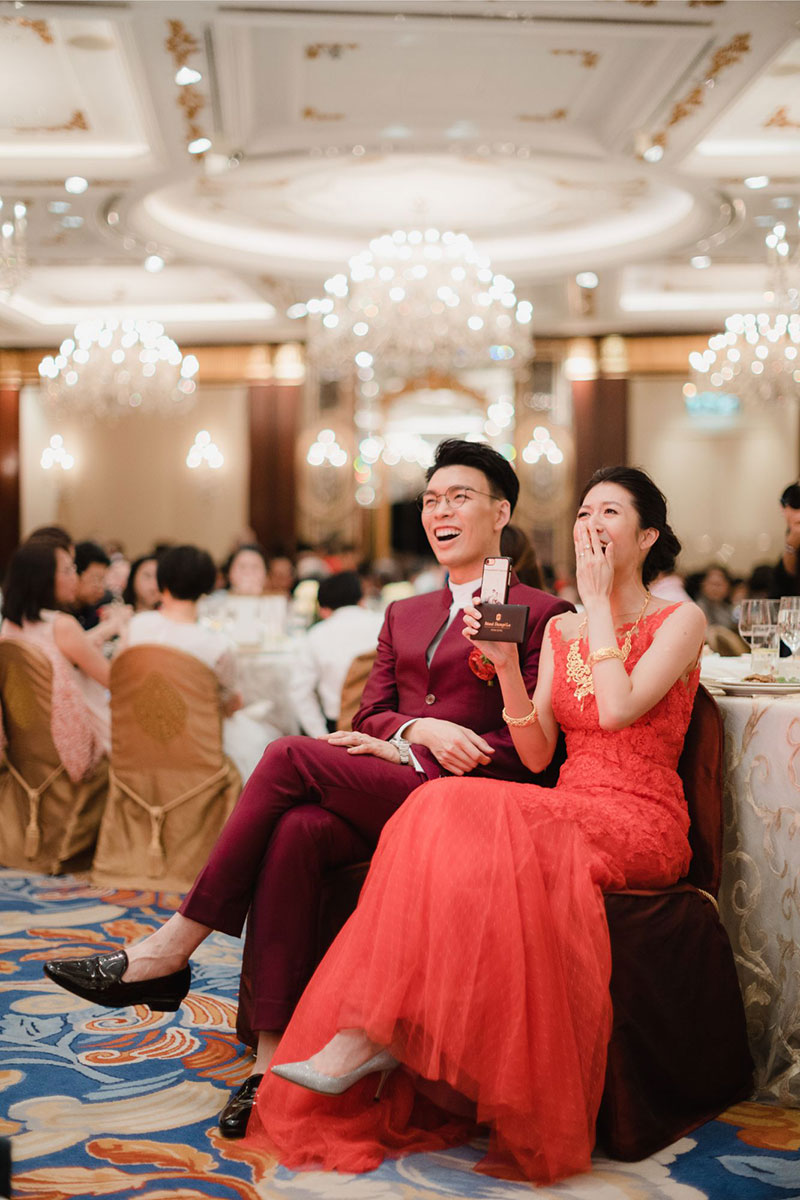
[From: The Very Cheerful and Affectionate Couple Filled This Wedding with So Much Love! / Photo: ]
The Head Table
Both, the bride and groom, should have one head table each for their families. They should be right in front of the main stage as this is the key position in the room. Usually, the direct family members (grandparents and siblings) and elder relatives, such as uncles and aunts, are at this table.
At the groom’s head table, you and your fiancé are to sit at the middle facing everyone–groom at left, bride right. at this table as well are the groom’s parents, grandparents, siblings, and other senior relatives.
At the bride head table the bride’s parents are at the closest seats followed by the grandparents, siblings, and other elder relatives.
The Second Head Table
If head table doesn’t have enough seats (it almost always not enough!), you will need to arrange second head tables for both sides depending on number of guests. Here, you can put the other relatives like younger uncles and aunts, cousins are usually seated here as well.
[From: Traditional Wedding at the JW Marriott / Photo: Patrick Photography]
The Bridal Party Table
This table is usually right after the head tables or relatives tables. The reason for the close proximity is to they can easily help the couple anytime. If head tables are on the first row, then this table will be on the second row. You may also put the partners of the groomsmen and bridesmaids here, as well as your closest friends.
Other Tables
For the rest of the tables, the same rule still applies: the closer the relationship to the couple, the closer the table. You may put the other table categories in the said order after the head tables and the bridal party’s table. Keep the grouping you originally made–friends, colleagues, schoolmates, etc. If one group is too big, you can separate them into two small groups. Think of friends who are sociable and easily blend with others; these are the ones you can separate into a smaller group and combine with another smaller group.
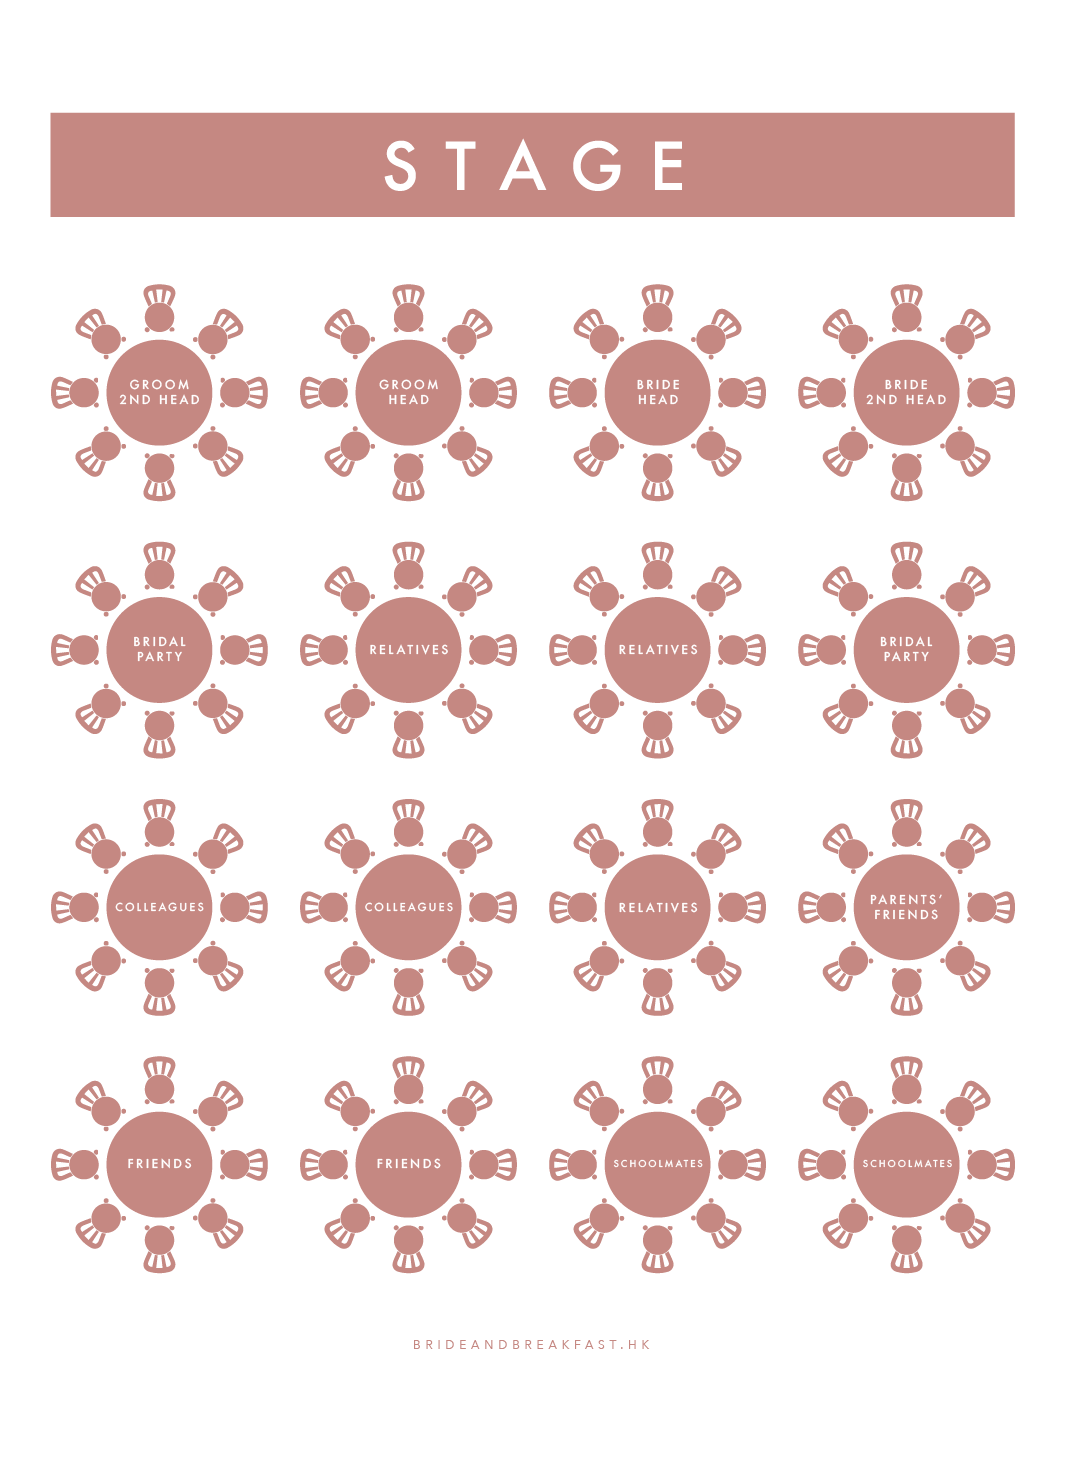
Here’s a seating plan draft for your reference. The common practice is to keep relatives close to you and your parents, and to put friends at the back, then everyone will be happy!
It sounds like a lot to do, but trust us! For as long as you are guided by these steps, you won’t have to worry too much about this major task for your wedding. And if there’s one thing you should always remember, it’s that your wedding is a special day; don’t plan your guest list and seating with the intent to make sure you and everyone has a great time.