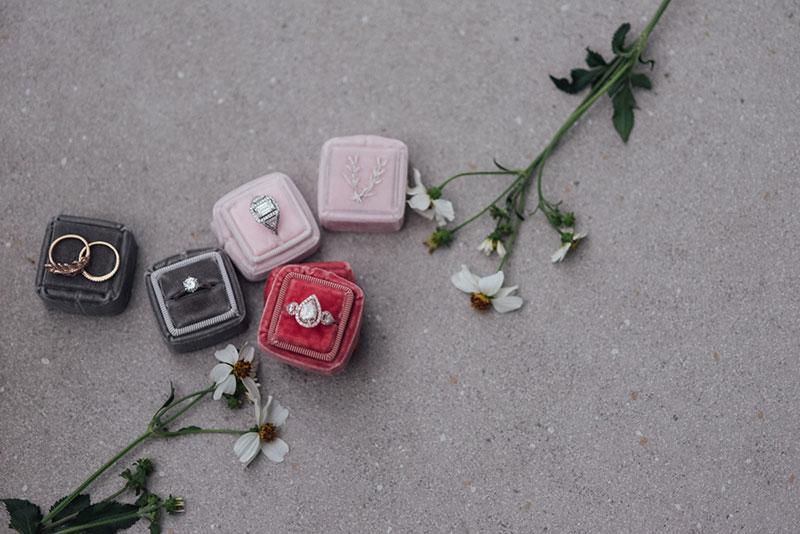
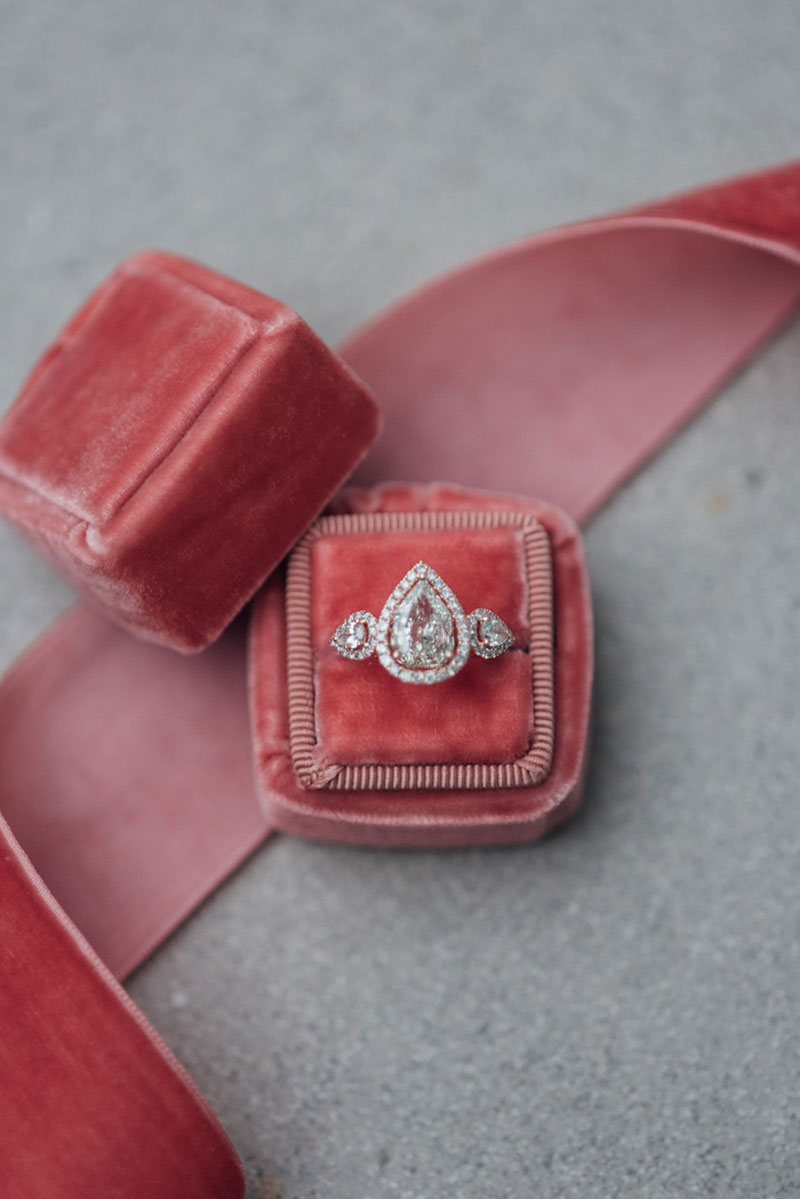
Looking for a cute container for your wedding and engagement rings? How about trying this D.I.Y. ring box to house your precious jewelry in personalized cases? Your rings are special because they hold so much meaning–love, marriage, lifelong partnership. Making the extra effort to create something unique for these gems will make them, and the memories they keep, all the more special. Read more to start making this with us now!
What you’ll need:
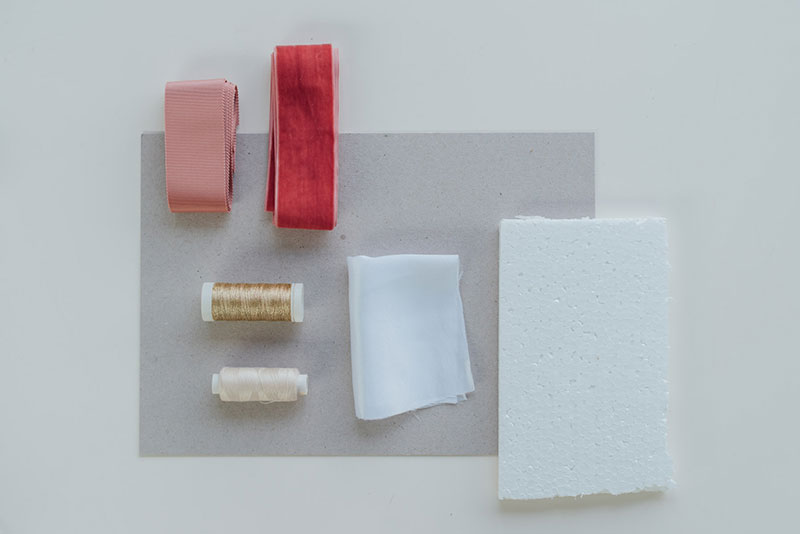
- Grosgrain ribbon (4 mm wide)
- B Velvet ribbon (4 mm wide)
- C Cardboard sheet (1 mm thick)
- D Metallic embroidery thread [optional ]
- E Sewing thread
- F Satin fabric
- G Styrofoam sheet (1/2 inch thick)
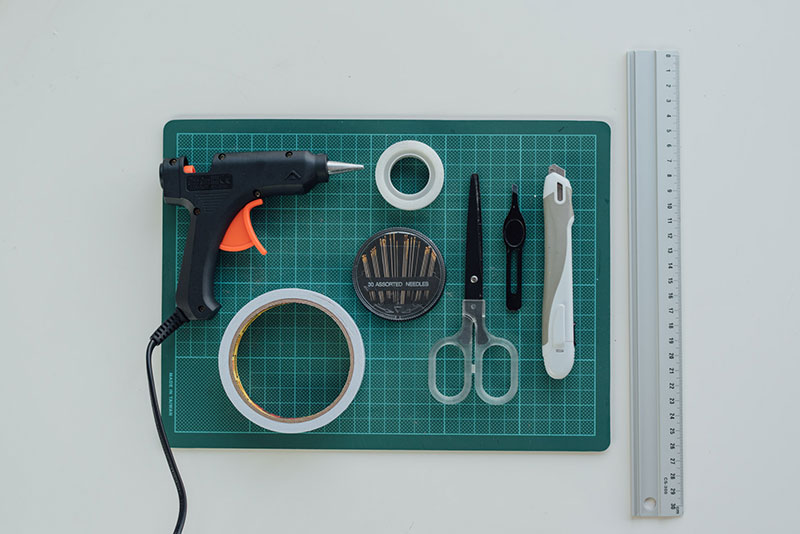
Tools:
Cutting mat, cutter, ruler, scissors, masking tape, double-sided tape, sewing needle, hot glue gun, tweezers (optional)
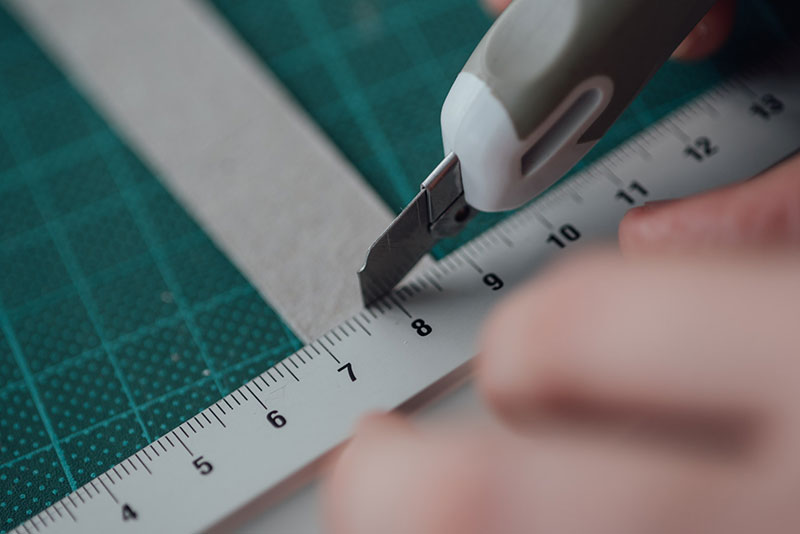
Step 1: Measure and cut out all the cardboard pieces according to Diagram 1.
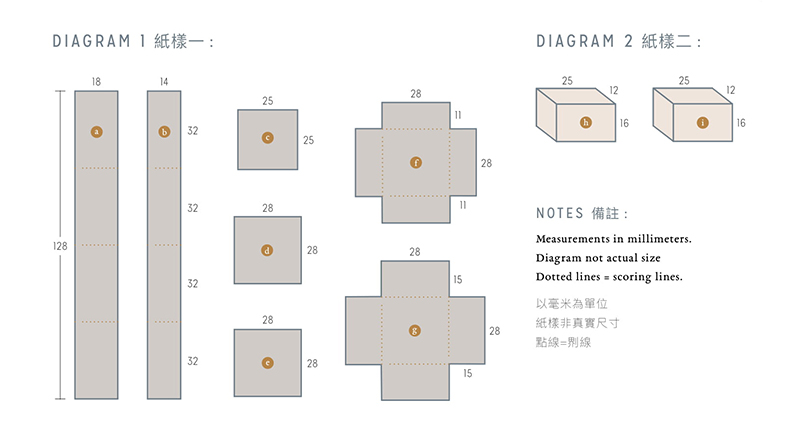
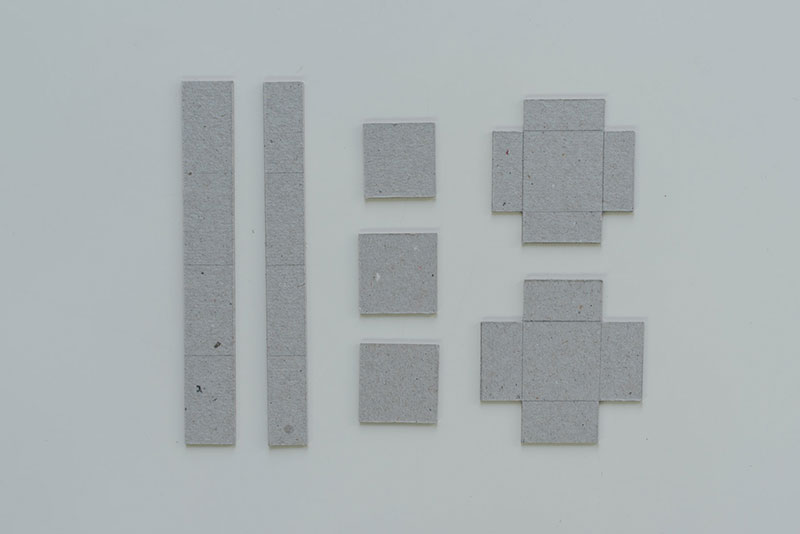
Step 2: Using a cutter and ruler, lightly score along the dotted lines as indicated in the diagram.
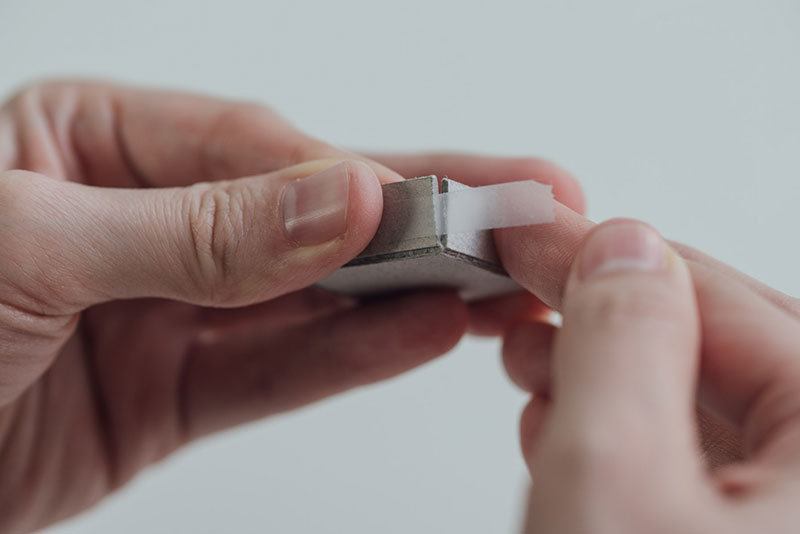
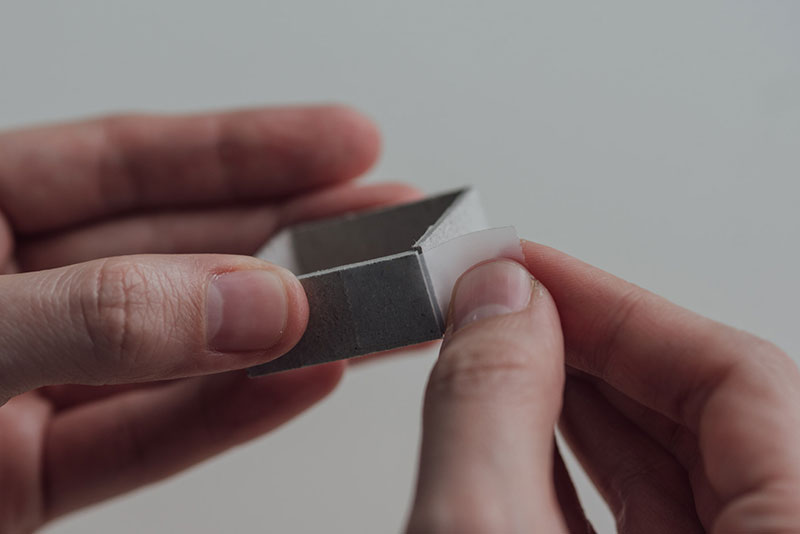
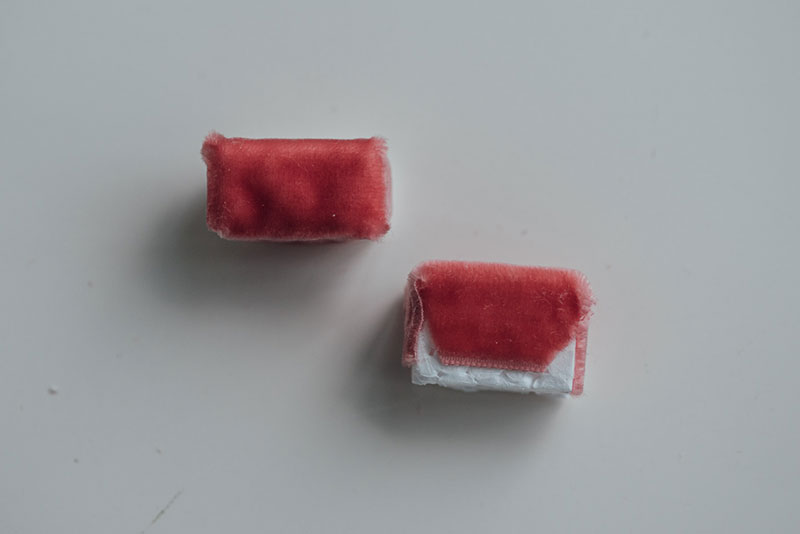
Step 3: Take pieces F and G and fold up all the sides. Secure the corners with tape.
Step 4: Cut two 45mm strips of grosgrain ribbon and wrap around both boxes F and G using double-sided tape.

Step 5: Cut slits in the corners before folding the ribbon in.
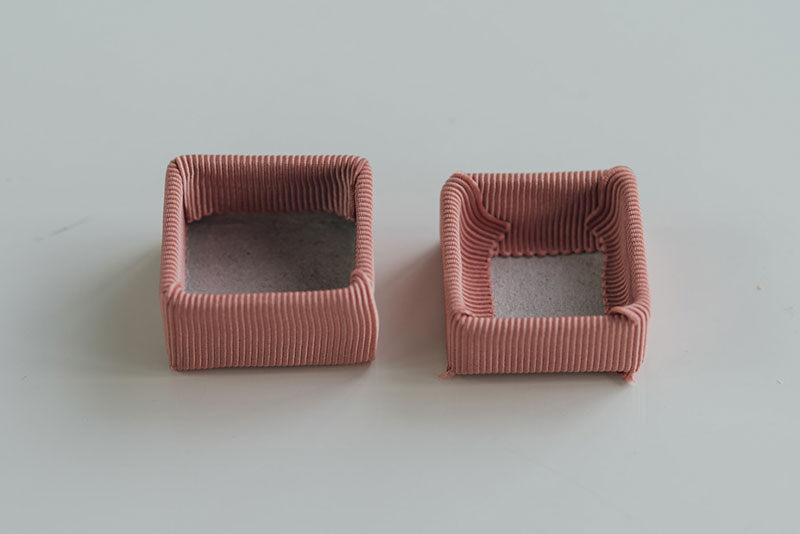
Step 6: Make sure the corners are folded neatly. These two pieces will be the inner boxes of the base (left) and the lid (right).
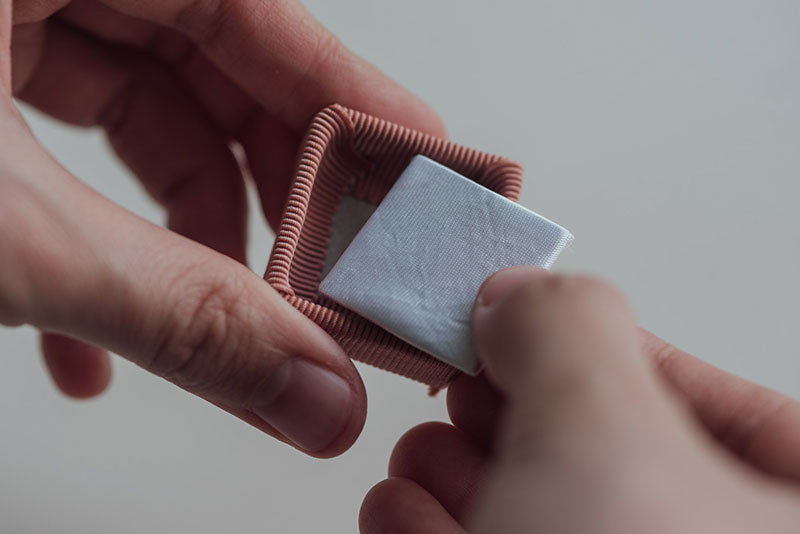
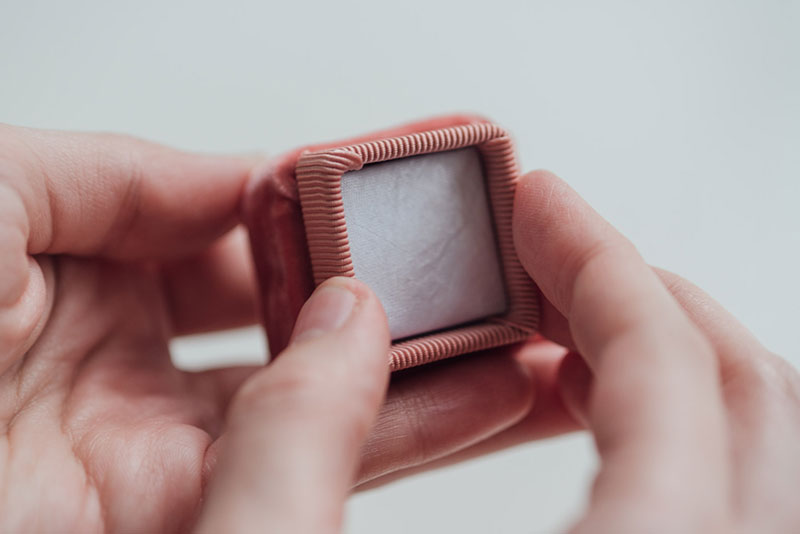
Step 7: Take the satin fabric and wrap square piece C using double-sided tape. Secure inside box F with hot glue.
Step 8: Fold outer frame pieces A and B secure end corner with masking tape.
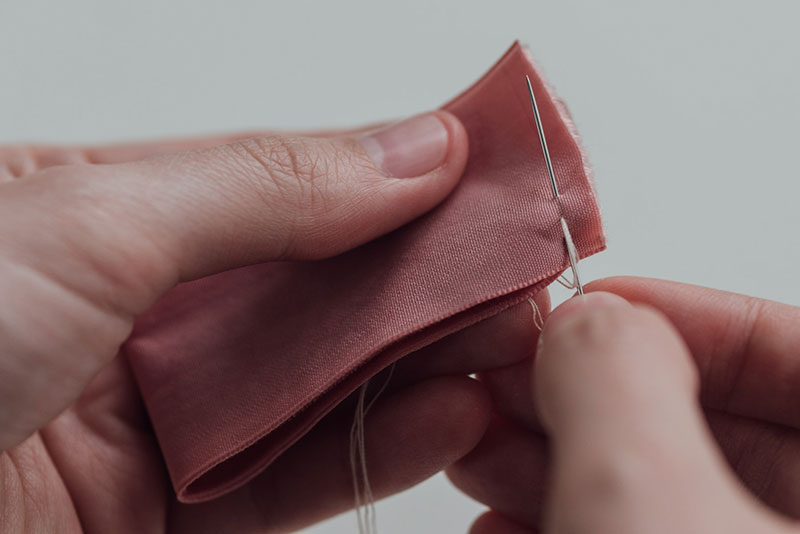
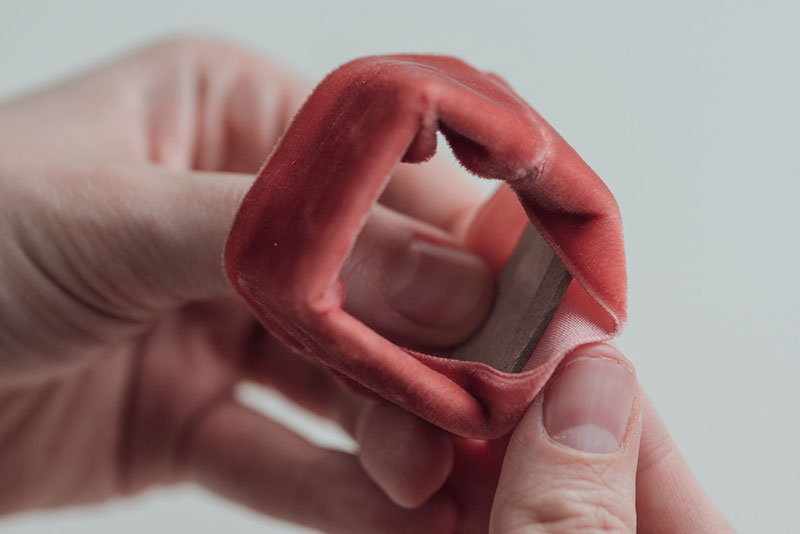
Step 9: Cut two 150mm strips of velvet ribbon. Fold each strip in half (wrong side out) and sew ends 5mm from the edge.
Step 10: Apply double-sided tape to all inner sides of each frame. You can use tweezers to make this process easier.
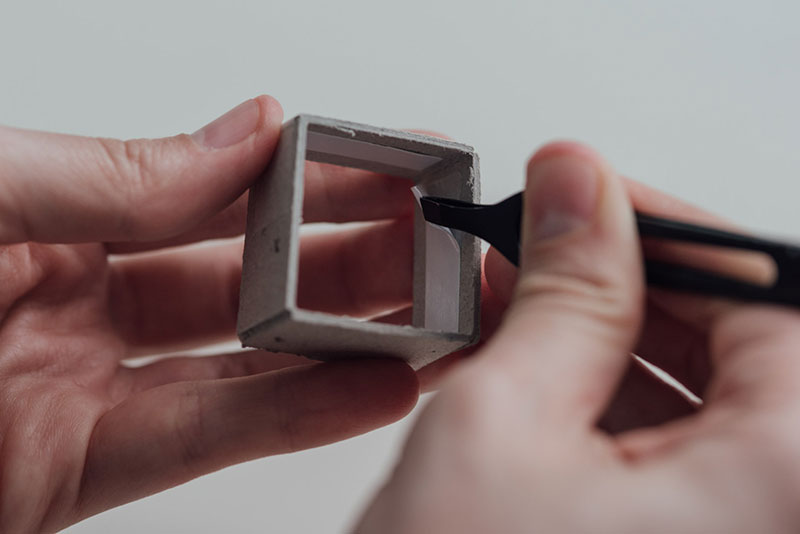
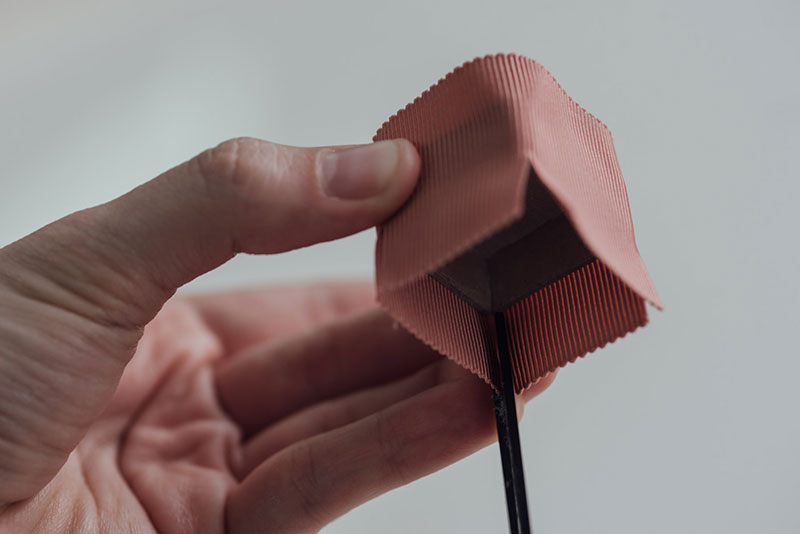
Step 11: Turn ribbons inside out and wrap around each frame. Make sure the sewn seams fall on the middle of one side of each frame.
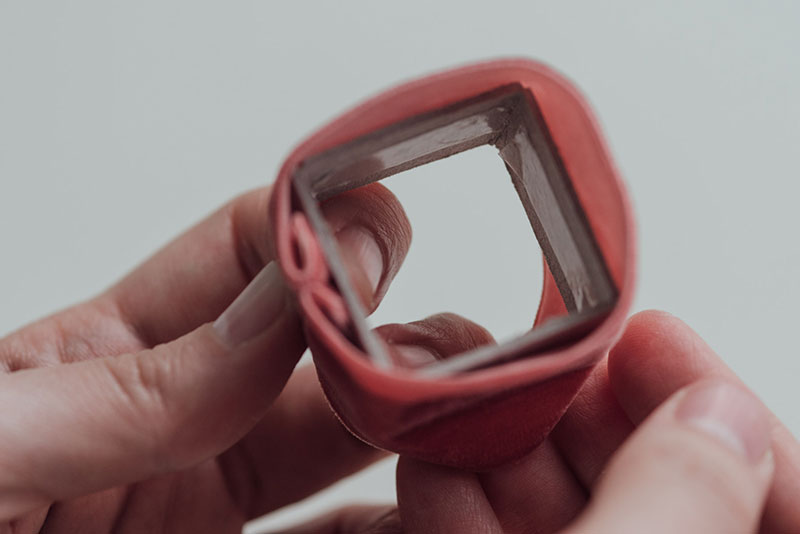
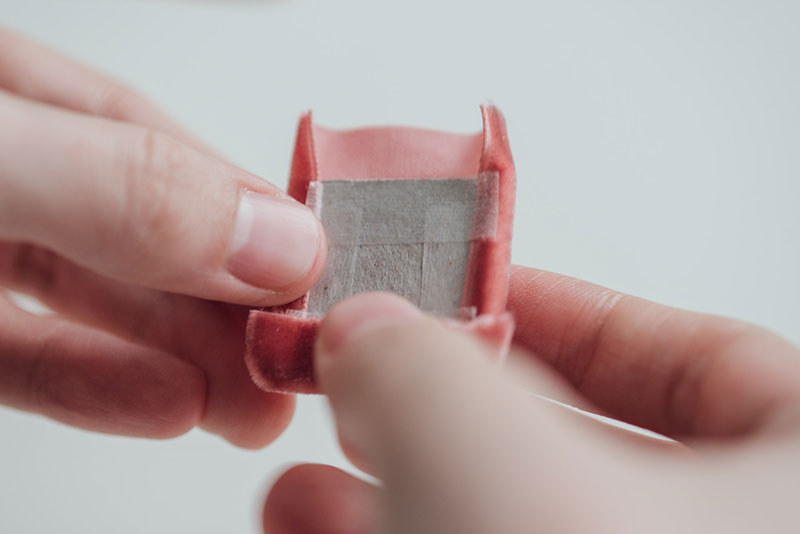
Step 12: Carefully fold the edges of the ribbon in, with all surfaces, especially the corners, as smooth as possible.
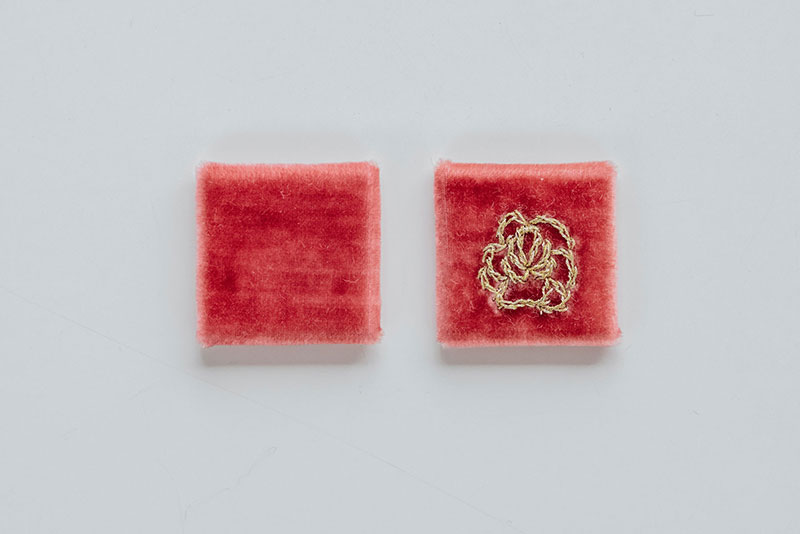
Step 13: Wrap square pieces D and E with velvet ribbon using double-sided tape. Trim off any excess ribbon from the corners.
Step 14: (Optional) You may embroider your design of choice using the metallic thread on the velvet ribbon before wrapping the squares.
Step 15: Insert box F into frame A into frame B.
Step 16: Measure and cut two styrofoam pieces as shown on Diagram 2. Using double-sided tape, wrap each piece with velvet ribbon.
Step 17: Insert foam pieces H and I into box G.
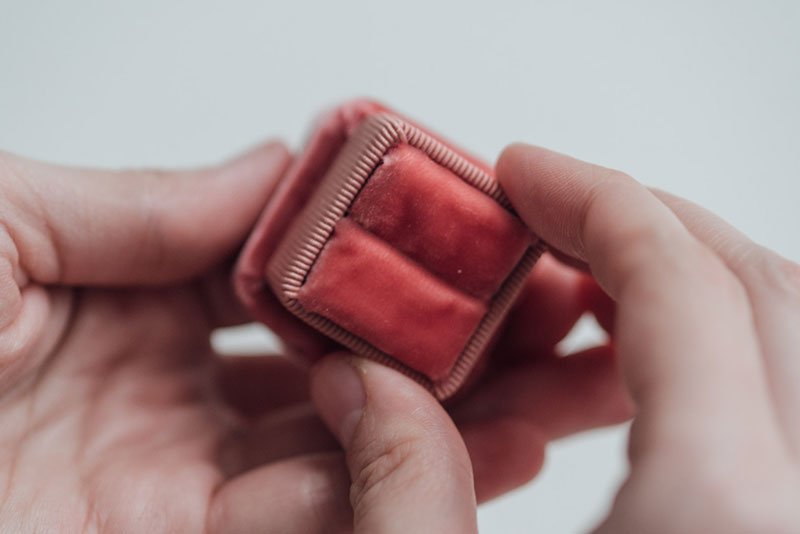
Step 18: Use hot glue to secure squares D and E onto the bottom of boxes F and G.
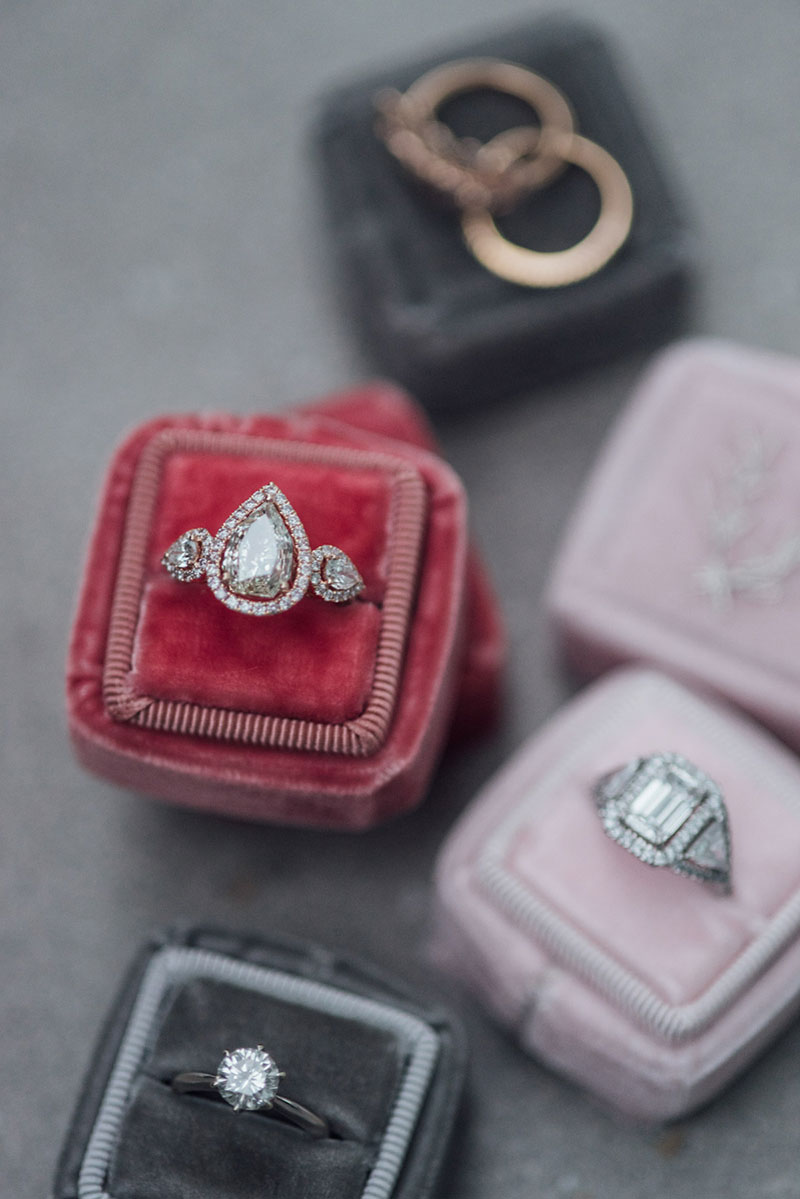
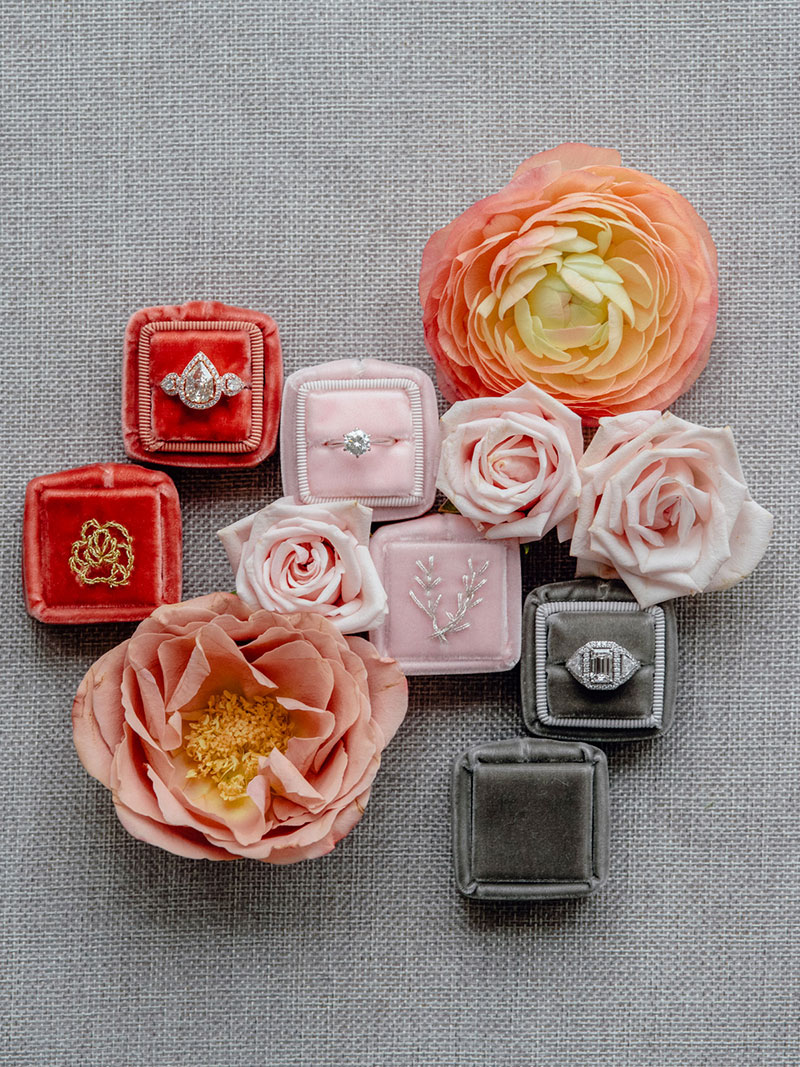
And voila!