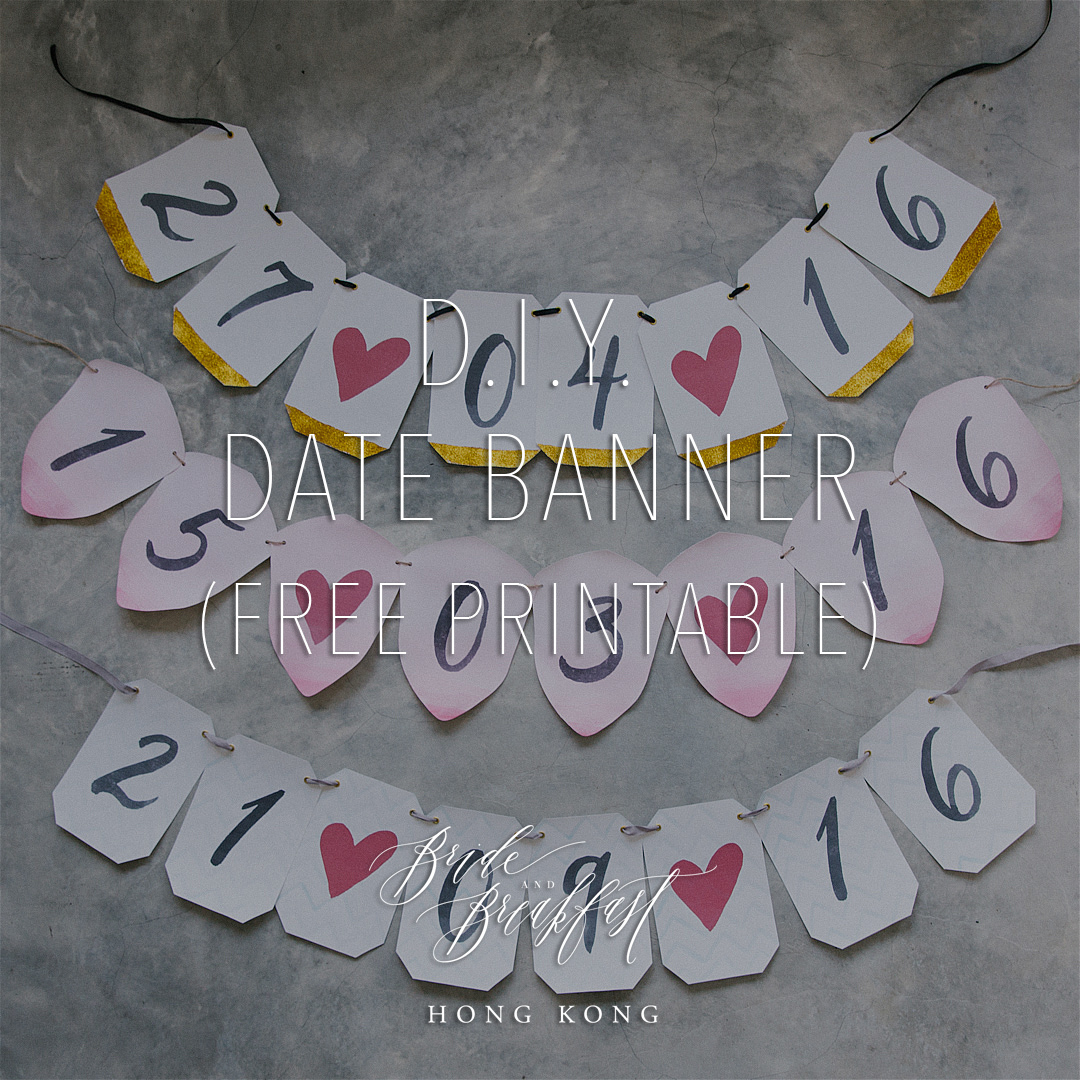
It’s been a while since our last DIY post, so we figured it was time for another installment! Today’s project is a super easy date banner that you can use as a prop for your engagement session or for your save the date photo or even as decoration for your engagement party or wedding day. We created a printable template featuring custom brush calligraphy by Lauhaus.co. Let’s get started!
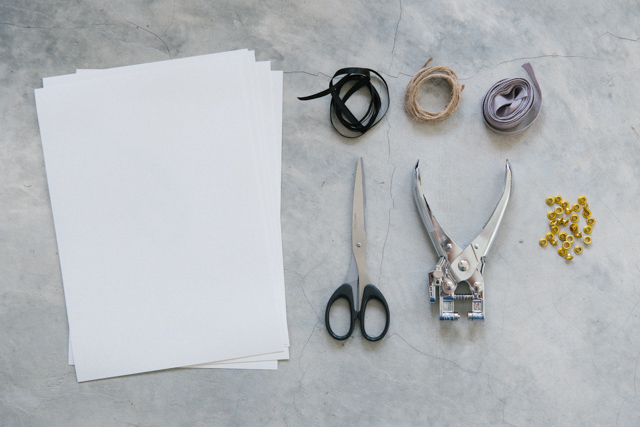
First, some supplies:
- A4 size card stock, printer (not pictured), scissors, hole punch, 1.5 meter ribbon, metal eyelets and eyelet punch (optional)
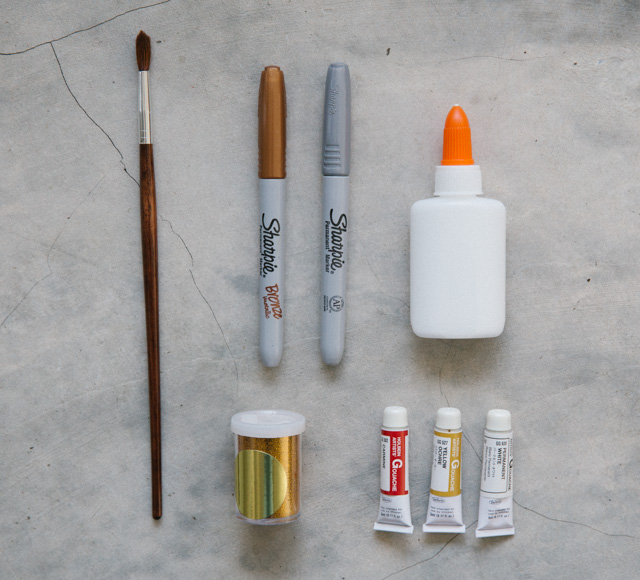
- Materials for decoration. We played with some watercolor and gold glitter for our examples, but feel free to get really creative!
Instructions:
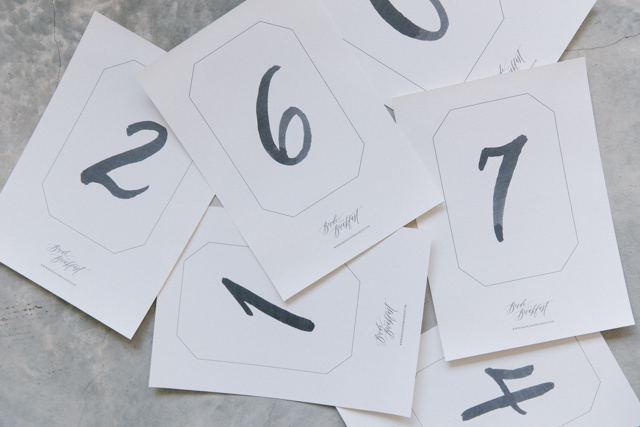
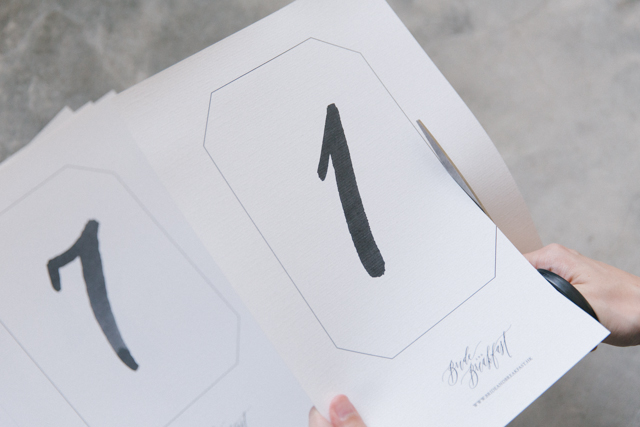
1. Download either our octagon or acorn template and print out the numbers you need plus two copies of the heart page.
2. Carefully cut out the printed sheets.
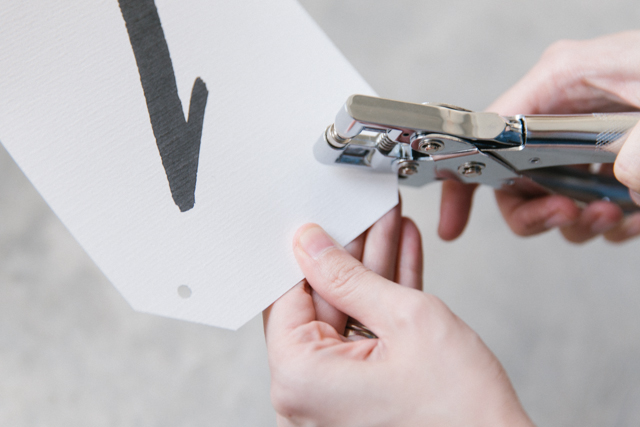
3. Punch holes on the top left and top right corners of each of the cards.
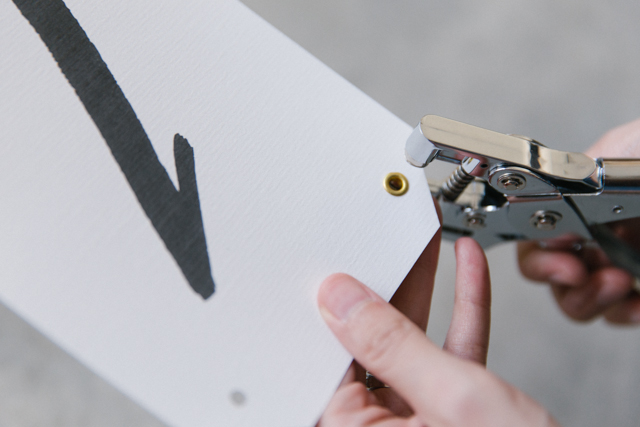
4. Add eyelets and secure with an eyelet punch. This step is optional, but it will make your banner a bit more durable and also look more finished.
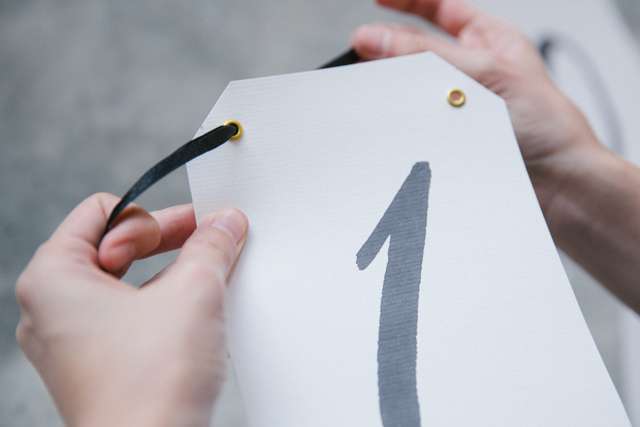
5. Thread the ribbon through your desired order of cards.
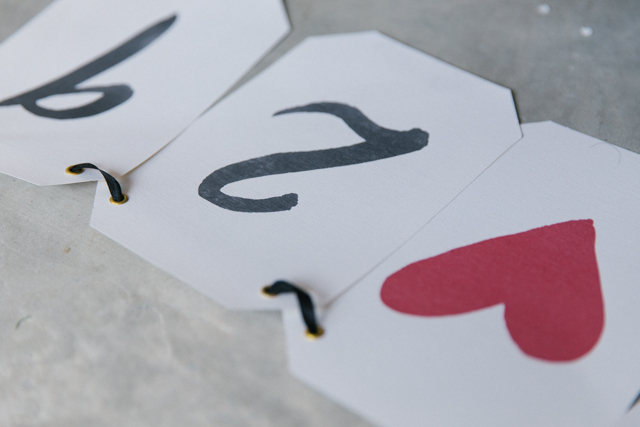
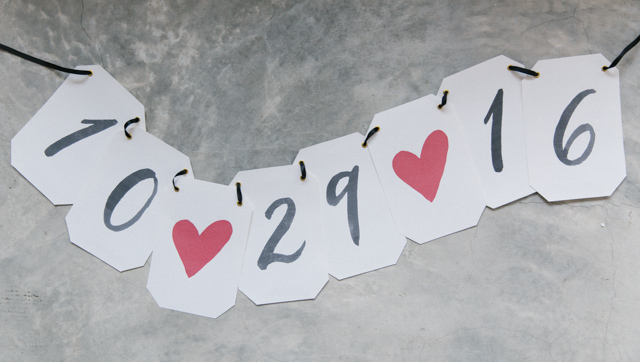
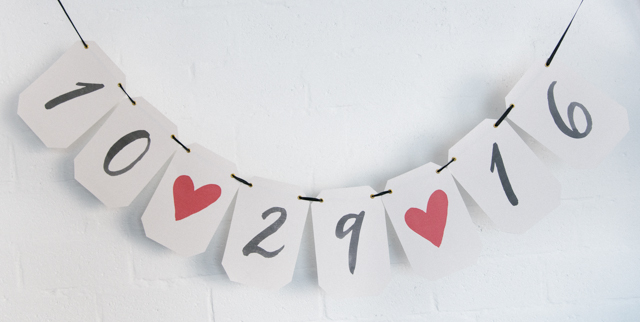
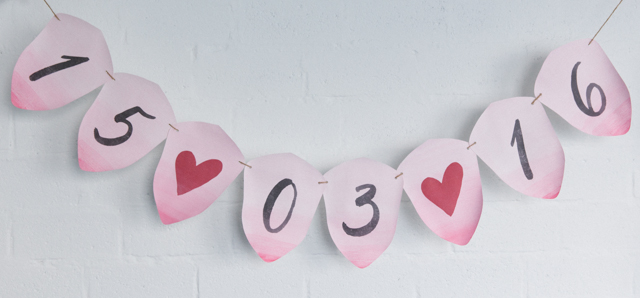
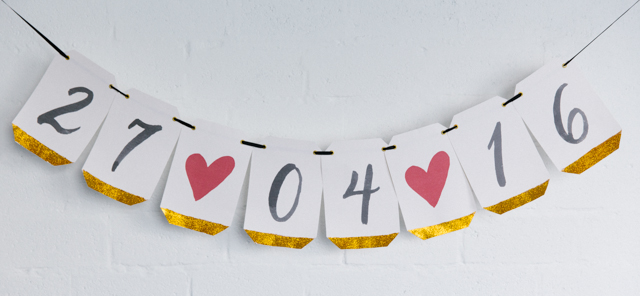
Here are photos of the finished product:
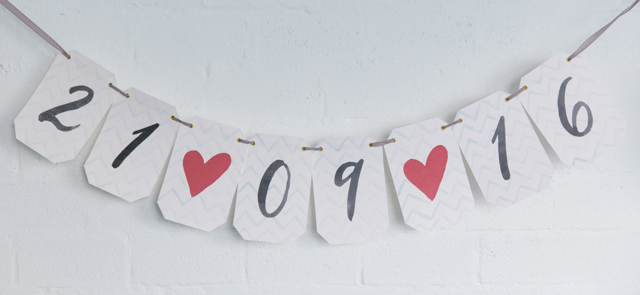
There are many different ways to decorate this banner, and below are some examples to get your creative juices flowing:
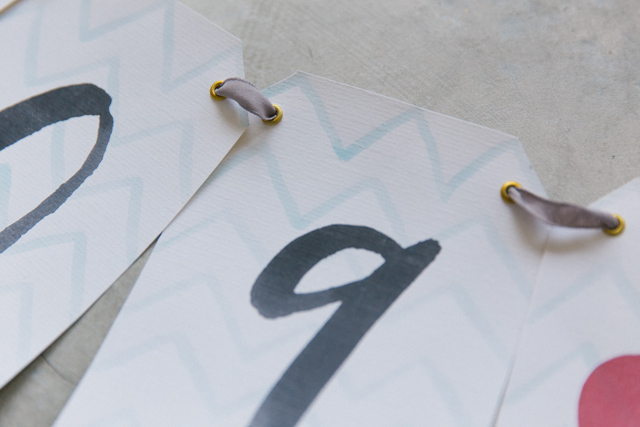
(a) Chevron watercolor patterns
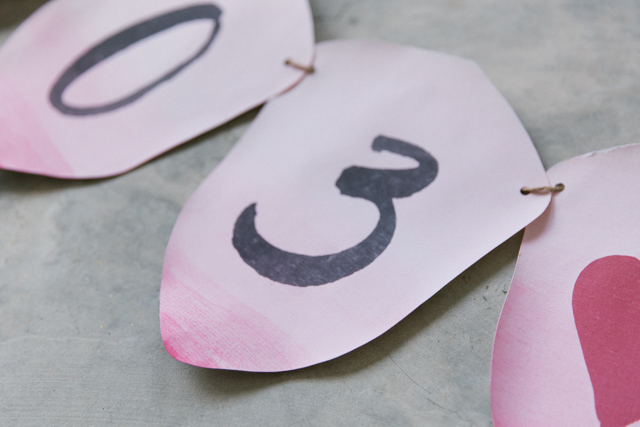
(b) Ombre watercolor background
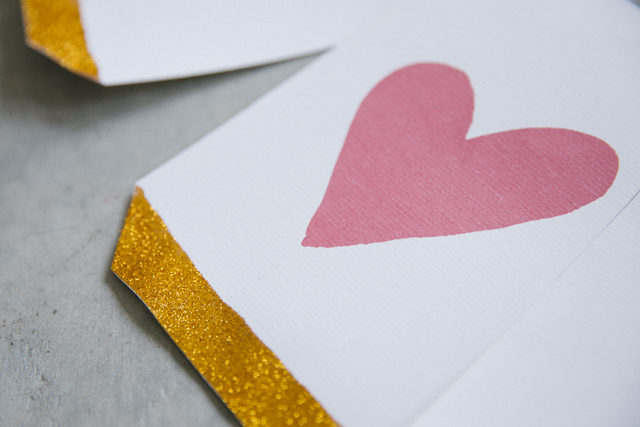
(c) Gold glitter accents
Happy crafting, and until our next DIY project!!


